Ever wondered how to create a professional striped lawn like you see in football stadiums up and down the country?
Or maybe you want your lawn to look better than Bills next door.
The good news is that it’s really easy.
And I’ll show you, not only how to create a striped lawn, but also how to create other grass patterns. Even if your lawn mower doesn’t have a roller.
How Lawn Striping Works
The stripes you see on a lawn are nothing more than light reflecting off blades of grass that are bent in one direction or another.
Dark stripes are made from grass that is bent towards you. It appears dark because you’re looking at the shadowy underside of the grass where the light can’t get to.
The lighter stripes are made from grass that is bent away from you. It appears lighter because the light is reflected from the top side of the grass leaves.
How to Create Lawn Stripes
So in order to create lawn stripes, all you need to do is bend the grass in one direction, then another.
In order to bend the grass, you’ll need a lawnmower with a roller on the back of it. Cylinder mowers are the best for this but a rotary mower will also work.
What if Your Mower Doesn’t Have a Roller?
Many lawn mowers don’t have rollers, even some of the best rotary mowers don’t have them. If your mower doesn’t have a roller you can buy a striping kit that fits onto the handles of your existing mower.
If you don’t want to spend any money, you could mow your lawn as normal. Then, turn the mower off, reduce the mower height by a couple of settings and then push it up and down.
It will take some effort but the cutting deck itself will flatten the grass to create the striped effect.
You could even use a yard brush to brush the grass in your desired direction. Although this is a time-consuming way of doing it, you can create some very intricate grass patterns.
How to Create Lawn Stripes and Grass Patterns
As I’ve said, creating a striped lawn is very easy.
Creating a Basic Striped Lawn

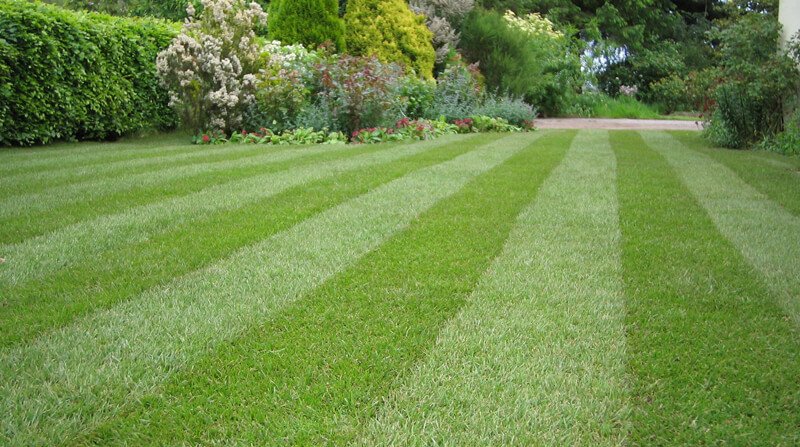
To create a simple, striped lawn, all you need to do is mow in one direction and come back in the opposite direction. Your lawn mower will do the rest.
Creating a Checkerboard Pattern
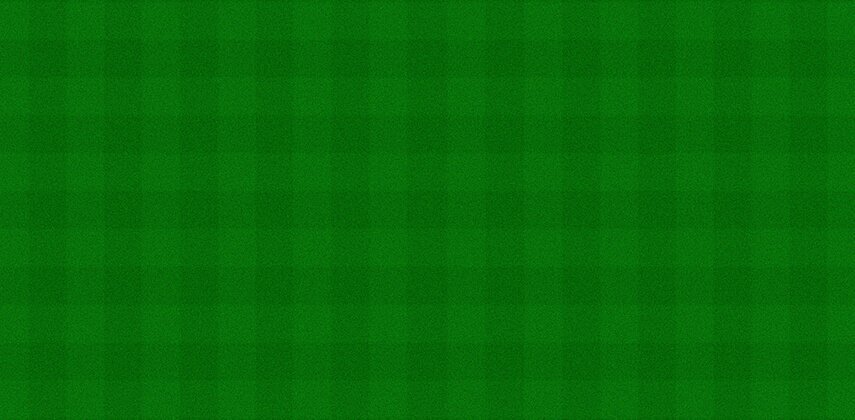
To take it a step further and create a checkerboard pattern, simply mow the lawn lengthways as I showed you above. Then, go over the lawn a second time and mow width-ways.
Creating a Diamond Checkerboard Pattern

Creating a diamond checkerboard pattern is exactly the same as creating a regular checkerboard pattern. The only difference is that you’d mow diagonally across the lawn instead of lengthways then widthways.
The Importance of Creating Straight Stripes
When you mow to create lawn stripes and grass patterns, especially straight lines, it’s important to get those stripes as straight as you can.
Straight lines look superb and curved or wavy lines can look stunning. But stripes that are neither straight or wavy look pretty poor.
Self-propelled mowers are the best for creating straight lines because they naturally move in straight lines. However, if you don’t own a self-propelled mower, a good tip for mowing straight is to look at least 10 feet in front of you instead of looking straight down at the ground.
Also, make sure you overlap each run to cut the whole lawn without leaving little strips of long grass. This is also really important if your lawnmower has wheels, as it will prevent tracks and ruts from forming in the turf.
To keep your overlaps consistent, use a marker on the front of your lawnmower that lines up with the edge of the last stripe. This could be a change in the shape or colour on the front of the lawnmower. Or you could create a marker yourself using a maker, paint or tape.
Taking Your Grass Patterns to the Next Level
When you get good at creating basic lawn stripes and patterns you can take things to a new level.
Here are a few examples of creative lawn stripes and patterns, courtesy of Allett’s Annual Lawn Stripes Competition;
Wavy Lawn Stripes
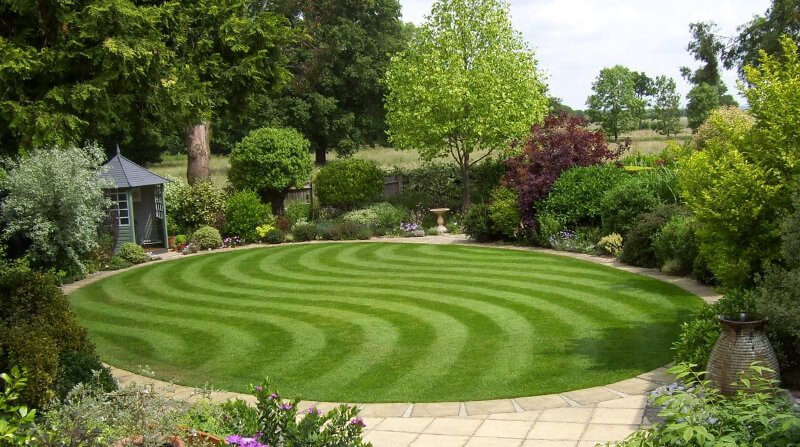
This is an example in which wavy lawn stripes look stunning.
The owner of this lawn, Mike Lee, simply came back and forth with his mower as I showed you in the first, basic striped lawn example I showed you above.
The only difference is that instead of using straight lines, he used very distinctive, wavy lines.
Crossover Semi-Circles
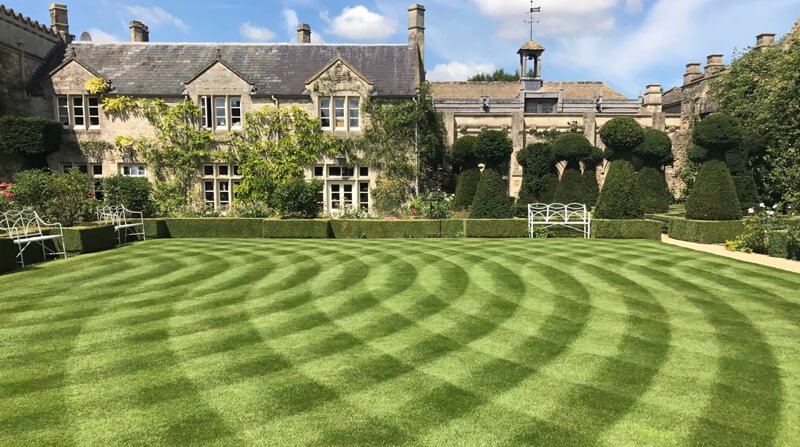
This is another very simple, yet beautiful grass pattern that looks much more complex than it really is.
It is simply made of semi-circles mowed from left to right and then right to left.
As simple as the pattern is, it does take planning and skill to pull off a pattern like this.
Notice how the edges of the semi-circles meet perfectly? If they didn’t, this pattern would be a bit of a mess.
A genius way of creating a sense of shape and movement in a square lawn.
Chain Grass Pattern
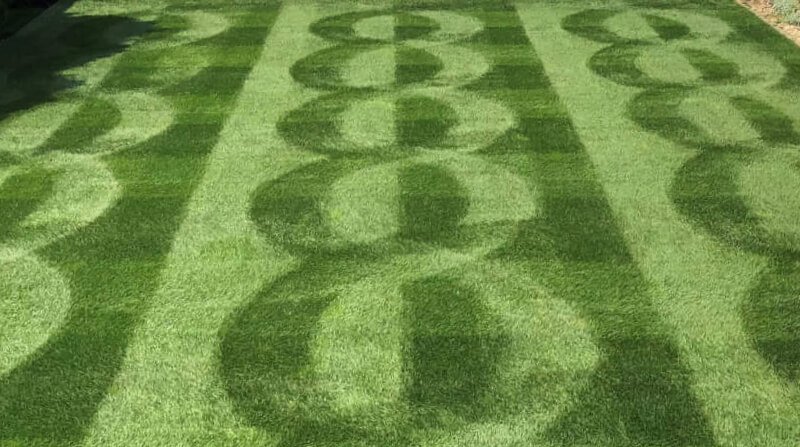
Another very simple grass pattern that takes skill and planning to execute.
This started off as a regular striped lawn. Then the anchor chains were mown in after, in the opposite direction to which the stripes were mown.
Union Jack Lawn
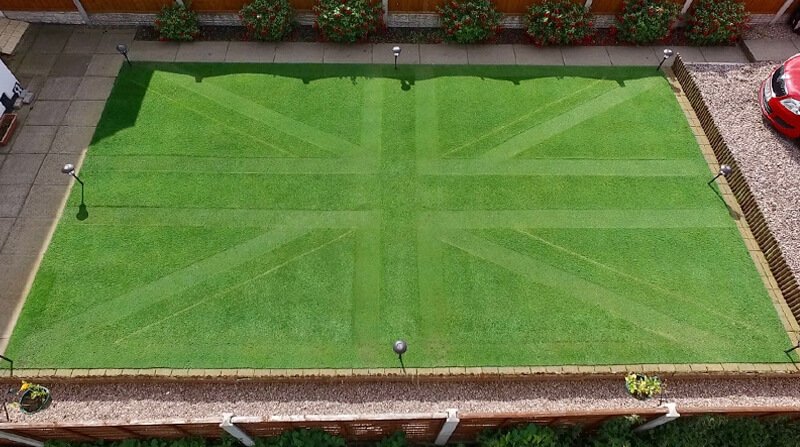
This has to be my favourite example as it will have taken incredible skill to create.
Instead of using his mower to create stripes, Kieth Smith cut the grass at different lengths to carve this union jack into his lawn.
This design is so good that it was featured on BBC and The Daily Mail.
And believe it or not, it was created using two 1920’s push mowers.
Geometric Lawn Pattern
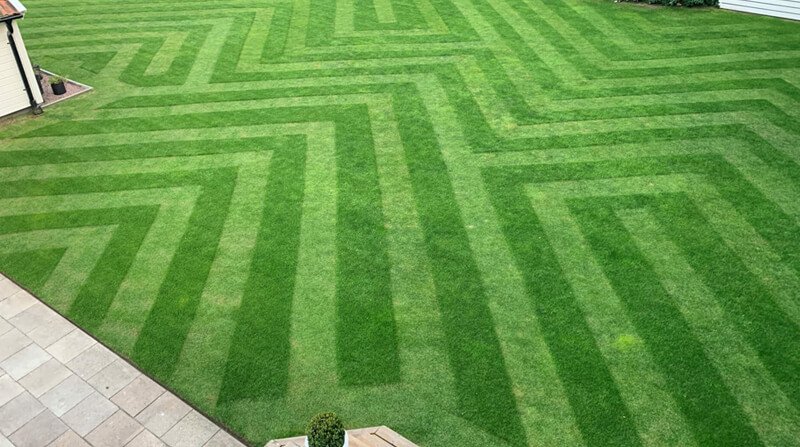
Here’s another example of using the height of the grass to create the pattern instead of mowing in stripes.
This pattern is by far the most difficult to execute.
The level of skill and patience shown here is astonishing.
In Conclusion
So there you have it.
That’s how you create a striped lawn or incredible grass patterns.
For some, myself included, lawn care and gardening in general, is about art. Instead of using pencils or paint, we use plants and tools.
And art can be as simple or as complex as you want.
Do remember though, creating grass patterns like some of the examples above not only requires artistic flair.
You must never mow too short, you must mow often, especially when using the length of the grass to define the pattern. Mow at the best times of day to keep the grass healthy and never cut the grass when it’s wet as this will completely ruin the look you’re trying to create.
And make sure you edge your lawn properly to finish everything off.

Hi Tim this is a great article.
My Name is Roger Clarke, I’m a lecturer at Capel Manor College and was wondering if I could add the article to my turf notes, I will credit the article to yourself.
Regards
Roger